Peanut Butter Brownie Cookie Cups
Highlighted under: Potluck Ideas
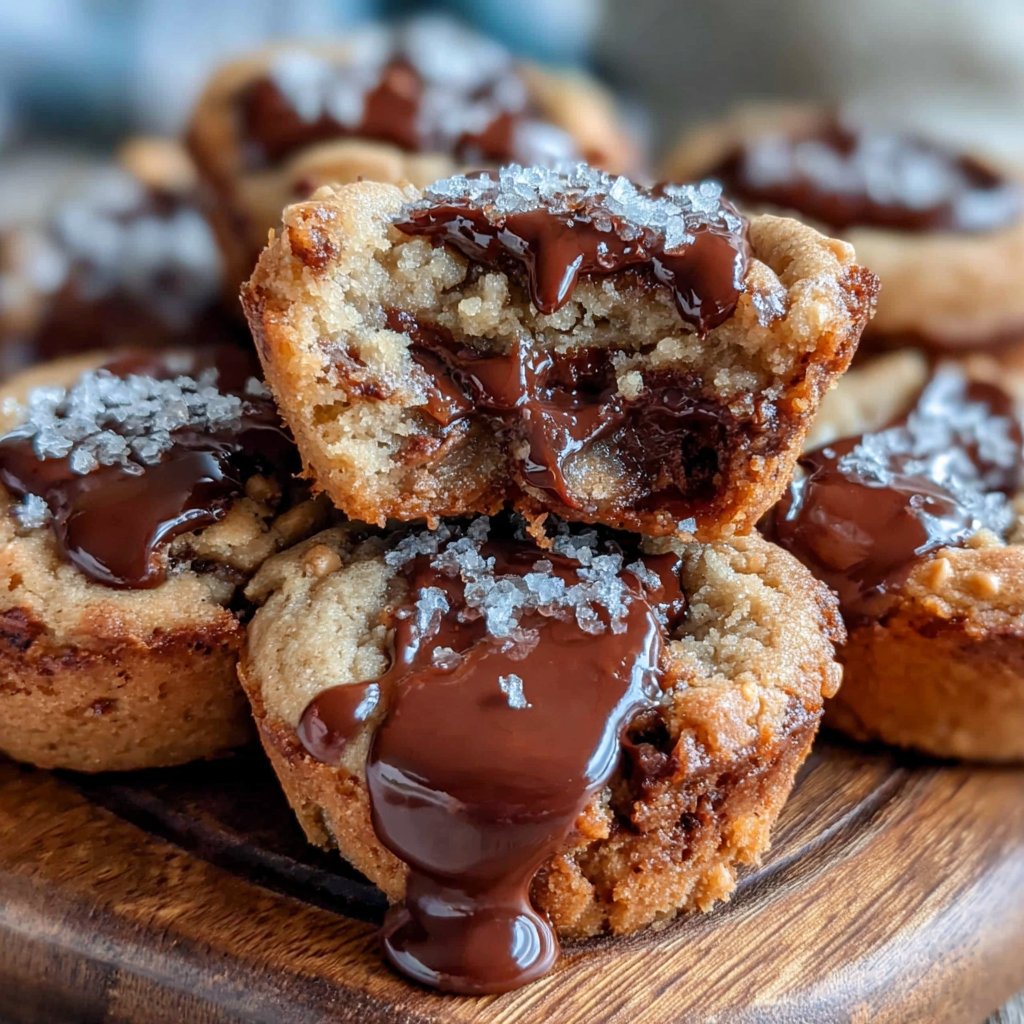
I absolutely love making these Peanut Butter Brownie Cookie Cups when I crave something sweet and indulgent. The combination of a rich brownie base topped with creamy peanut butter creates a delightful treat that never disappoints. I especially enjoy baking them when I have friends over, as they are always a crowd-pleaser. These cups are wonderfully easy to make and will surely impress anyone who's lucky enough to grab one. Each bite is a perfect blend of flavors and textures, making them ideal for satisfying my dessert cravings!
When I first experimented with these Peanut Butter Brownie Cookie Cups, I was taken aback by how simple yet satisfying they turned out to be. I used a classic brownie recipe for the base, ensuring it was fudgy and rich, which perfectly complements the creamy peanut butter layer that follows. Trust me, a little bit of salt in the peanut butter elevates the flavors and makes them irresistibly delicious!
One tip I learned while making these cookies is to let the brownie cups cool slightly before adding the peanut butter. This allows them to set perfectly, creating a delightful contrast between the warm brownie and the silky peanut layer. Serve them warm or at room temperature; either way, they’ll be gone in a flash!
Why You'll Love These Cookies
- Rich chocolate flavor paired with creamy peanut butter
- Soft brownie base with a perfect cookie cup texture
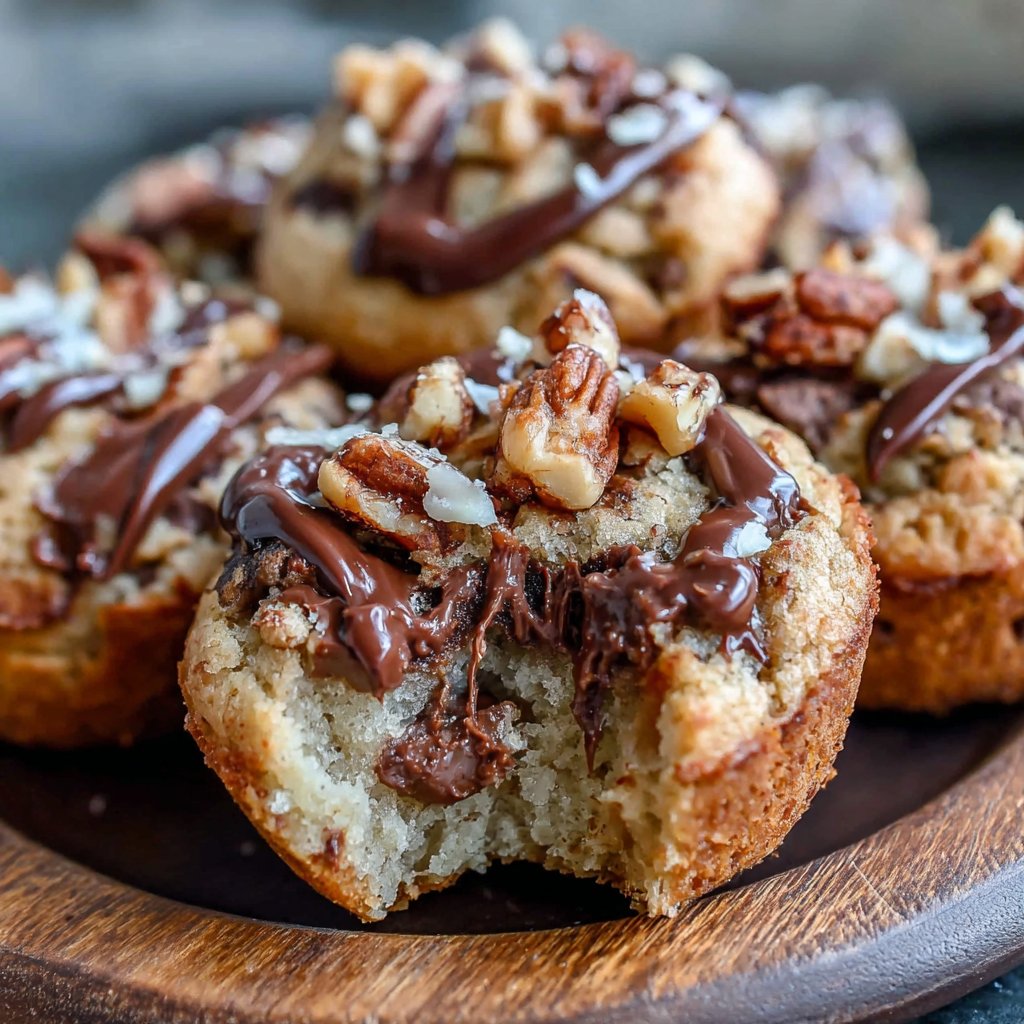
- Easily customizable with different toppings or fillings
The Importance of the Brownie Base
The brownie base is the foundation of these cookie cups, contributing not only flavor but also crucial texture. Using unsalted butter ensures that you have control over the saltiness of your dessert. Melted butter gives the batter a smooth, glossy finish. When mixing the ingredients, be careful not to overmix after adding the flour; this can lead to a tougher brownie. You're aiming for tender, fudgy brownie cups that will contrast beautifully with the creamy peanut butter layer on top.
When baking, keeping an eye on the time is key. Oven temperatures can vary, so it's helpful to check your brownie cups around the 12-minute mark. You’re looking for slightly puffed tops and edges that begin to set. The center should still look a bit underbaked, as it will continue to cook while cooling in the tin. Don’t forget to let them cool in the tin before transferring them; this helps them maintain their shape.
Customizing the Peanut Butter Layer
The peanut butter layer is easily adjustable based on your taste preferences. If you're a fan of added sweetness, consider increasing the powdered sugar to create a richer flavor; just remember to balance it with a pinch of salt. You can also replace creamy peanut butter with crunchy for additional texture, or even try almond or cashew butter for a nutty twist. Each substitution adds a unique character to the finished product.
For chocolate lovers, folding in chocolate chips not only enhances the richness but also provides that delightful melty experience. If you want to go a step further, top the filled cups with a drizzle of chocolate or a sprinkle of sea salt for a gourmet touch. Experimenting with these variations can make each batch feel special and unique, inviting creativity in your baking!
Ingredients
Gather the following ingredients to create these delicious treats:
Brownie Base
- 1/2 cup unsalted butter, melted
- 1 cup granulated sugar
- 2 large eggs
- 1 teaspoon vanilla extract
- 1/3 cup cocoa powder
- 1/2 cup all-purpose flour
- 1/4 teaspoon salt
- 1/4 teaspoon baking powder
Peanut Butter Layer
- 1/2 cup creamy peanut butter
- 2 tablespoons powdered sugar
- 1/4 teaspoon salt
- 1/2 cup chocolate chips (optional)
Make sure you have everything ready before you start baking!
Instructions
Follow these steps for a successful bake:
Prepare the Brownie Batter
In a medium bowl, mix together the melted butter and sugar until well combined. Add in the eggs and vanilla, mixing until smooth. Sift in the cocoa powder, flour, salt, and baking powder, and stir until just combined.
Bake the Brownie Cups
Preheat your oven to 350°F (175°C). Grease a muffin tin and fill each cup with brownie batter about 2/3 full. Bake for 15 minutes or until a toothpick inserted in the center comes out with a few moist crumbs.
Prepare the Peanut Butter Layer
In a small bowl, combine creamy peanut butter, powdered sugar, and salt until smooth. If desired, fold in chocolate chips for extra indulgence.
Assemble the Cookie Cups
Once the brownie cups have cooled for about 10 minutes, press a spoonful of the peanut butter mixture into the center of each brownie cup. Allow them to cool completely before serving.
Once everything is assembled, enjoy these decadent cookie cups!
Pro Tips
- For an extra treat, drizzle melted chocolate over the top of the peanut butter layer before serving. These cups also freeze well, so you can stash some away for later indulgence!
Storage and Make-Ahead Tips
These Peanut Butter Brownie Cookie Cups can be made ahead of time, which makes them perfect for entertaining. Once fully cooled, store them in an airtight container at room temperature for up to 3 days, or in the refrigerator for up to a week to intensify the flavors. If you prefer a firmer texture, refrigerating the cups can also achieve this, making each bite more satisfying. Just allow them to come to room temperature before serving for best results.
For longer storage, you can freeze these cookie cups for up to 3 months. Just be sure to wrap them tightly in plastic wrap and then place them in a freezer-safe container. When you're ready to enjoy them, thaw them in the fridge overnight or at room temperature for a few hours. This way, you'll have a delicious treat ready at a moment's notice!
Troubleshooting Common Issues
If your brownie cups are not rising properly, it could be due to expired baking powder. Always check the freshness of your leavening agents before starting a recipe. Also, overmixing can cause dense, flat brownie bases, as it develops the gluten in the flour too much. Gently mix until combined for that perfect fudgy texture.
Another common issue is the peanut butter layer being too crumbly. If this happens, simply add a little more peanut butter or a splash of milk to achieve a smoother consistency. Sometimes, the ambient temperature can affect how creamy or stiff peanut butter behaves, so having a backup on hand can be a lifesaver while assembling your cookie cups.
Questions About Recipes
→ Can I use crunchy peanut butter instead?
Absolutely! Crunchy peanut butter will add a delightful texture to the filling.
→ How should I store these cookie cups?
Store them in an airtight container at room temperature for up to 3 days or in the refrigerator for up to a week.
→ Can I make these gluten-free?
Yes, you can substitute the all-purpose flour with a gluten-free flour blend for a gluten-free version.
→ What can I use instead of eggs?
You can substitute eggs with flax eggs or applesauce for a vegan alternative.
Peanut Butter Brownie Cookie Cups
Created by: The Chefbrunocooks Team
Recipe Type: Potluck Ideas
Skill Level: Intermediate
Final Quantity: 12 cups
What You'll Need
Brownie Base
- 1/2 cup unsalted butter, melted
- 1 cup granulated sugar
- 2 large eggs
- 1 teaspoon vanilla extract
- 1/3 cup cocoa powder
- 1/2 cup all-purpose flour
- 1/4 teaspoon salt
- 1/4 teaspoon baking powder
Peanut Butter Layer
- 1/2 cup creamy peanut butter
- 2 tablespoons powdered sugar
- 1/4 teaspoon salt
- 1/2 cup chocolate chips (optional)
How-To Steps
In a medium bowl, mix together the melted butter and sugar until well combined. Add in the eggs and vanilla, mixing until smooth. Sift in the cocoa powder, flour, salt, and baking powder, and stir until just combined.
Preheat your oven to 350°F (175°C). Grease a muffin tin and fill each cup with brownie batter about 2/3 full. Bake for 15 minutes or until a toothpick inserted in the center comes out with a few moist crumbs.
In a small bowl, combine creamy peanut butter, powdered sugar, and salt until smooth. If desired, fold in chocolate chips for extra indulgence.
Once the brownie cups have cooled for about 10 minutes, press a spoonful of the peanut butter mixture into the center of each brownie cup. Allow them to cool completely before serving.
Extra Tips
- For an extra treat, drizzle melted chocolate over the top of the peanut butter layer before serving. These cups also freeze well, so you can stash some away for later indulgence!
Nutritional Breakdown (Per Serving)
- Calories: 380 kcal
- Total Fat: 26g
- Saturated Fat: 15g
- Cholesterol: 195mg
- Sodium: 85mg
- Total Carbohydrates: 32g
- Dietary Fiber: 3g
- Sugars: 24g
- Protein: 6g