Comfort Creamy Mac & Cheese
Highlighted under: Sunday Roasts Recipes
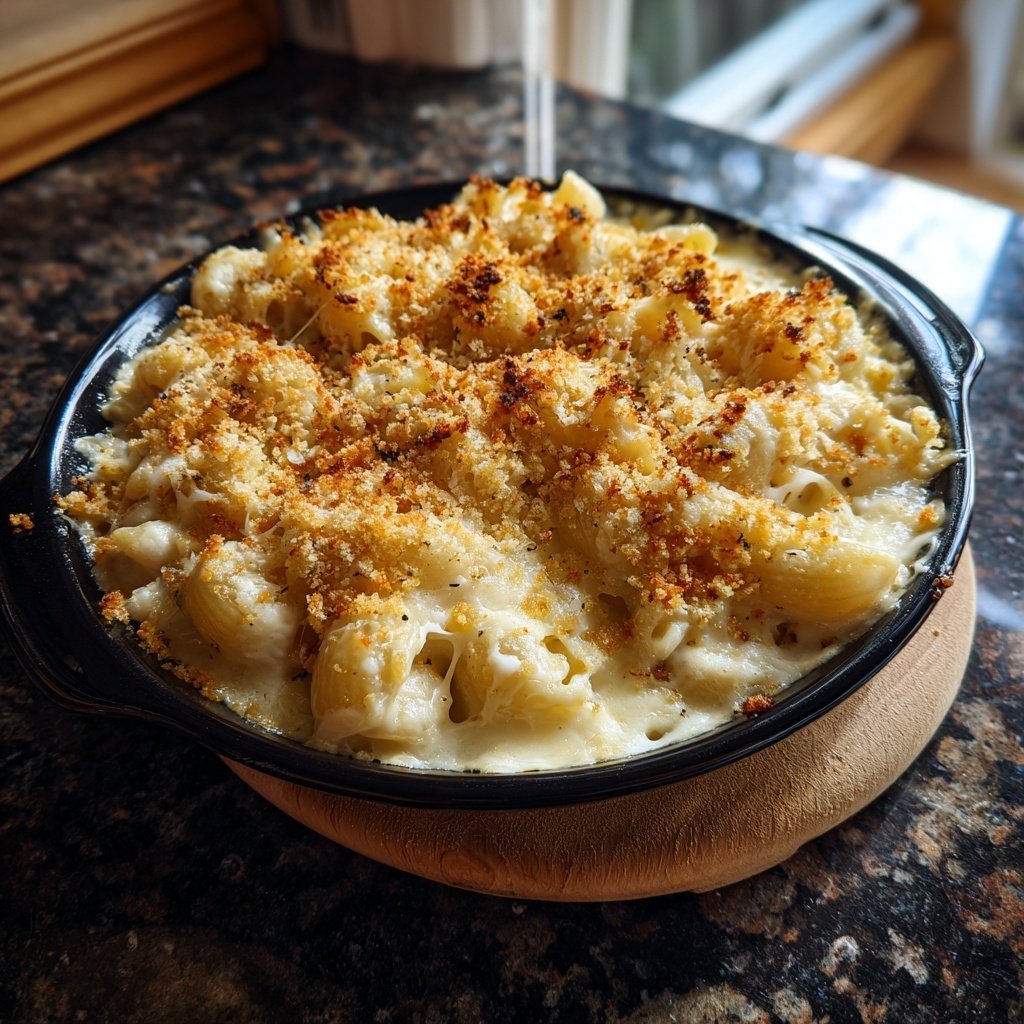
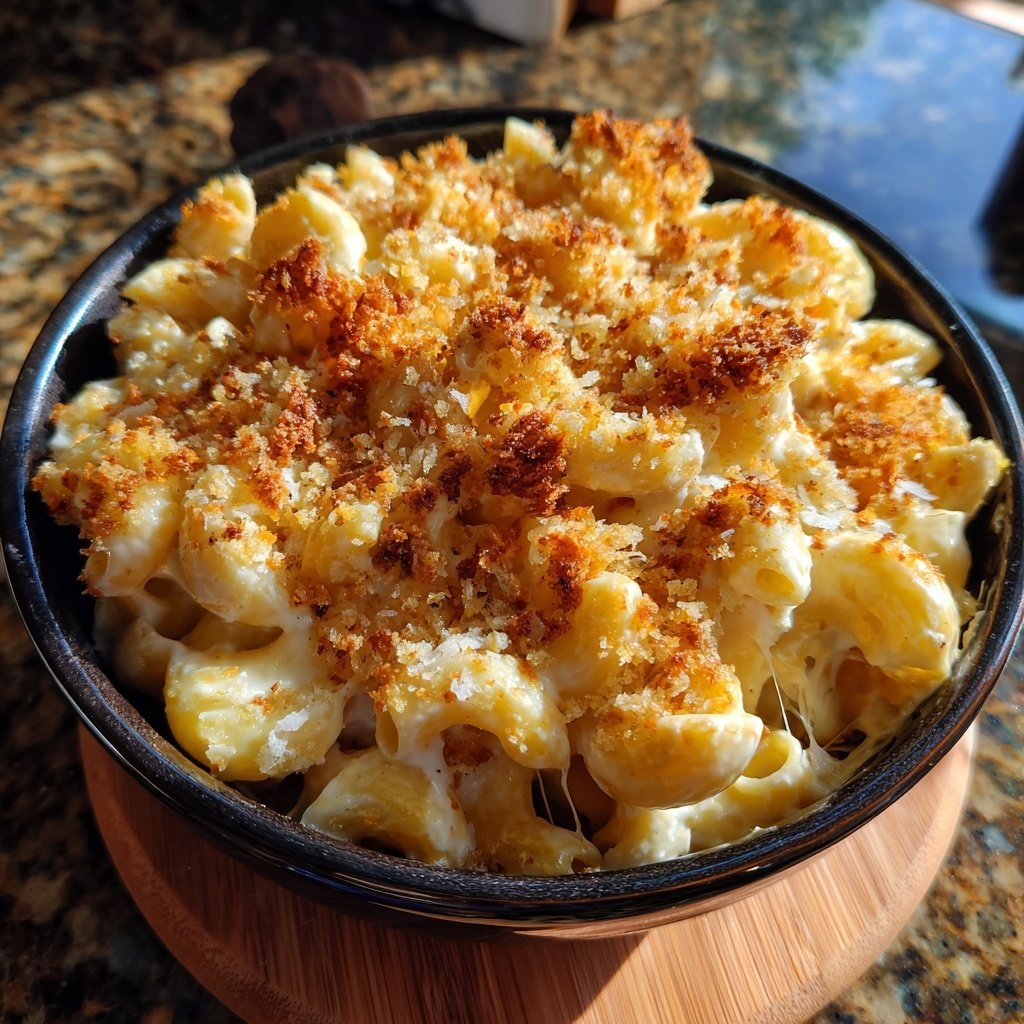
I absolutely adore making Comfort Creamy Mac & Cheese at home because it brings a sense of warmth and nostalgia to the dinner table. Each bite is a delightful blend of creamy cheese and perfectly cooked pasta, making it an instant favorite for both kids and adults. The best part is how easily it comes together, allowing me to spend less time cooking and more time enjoying a cozy meal with loved ones. Whether as a weeknight dinner or a special occasion dish, this recipe never fails to satisfy my cravings for something hearty and delicious.
When I first tackled making homemade mac and cheese, I was astounded by how much better it tasted than the boxed versions I grew up on. The secret lies in using a variety of cheeses—sharp cheddar for flavor, creamy mozzarella for stretch, and a touch of Parmesan for depth. I also love adding a pinch of nutmeg for warmth, which elevates the dish from comfort food to a gourmet experience.
The first time I whipped this up for a gathering, I was surprised by how quickly it disappeared! Everyone kept asking for the recipe, and I realized the trick was in the béchamel sauce that forms the creamy base. Making it from scratch can seem daunting, but it’s truly simple and oh-so-rewarding.
Why You'll Love This Recipe
- Lush, velvety cheese sauce that clings to every elbow macaroni
- The option to customize with your favorite cheeses and mix-ins
- Perfectly crispy topping that adds a delightful contrast
Mastering the Cheese Sauce
The cheese sauce is the heart of this Comfort Creamy Mac & Cheese, making it essential to get it just right. Start with medium heat while melting the butter to prevent burning; this is crucial because a burned roux can lead to a bitter flavor profile. When adding the flour, whisk vigorously to avoid lumps, cooking until the mixture is golden. This color indicates that the flour is well-cooked, contributing to the sauce's overall flavor.
As you pour in the milk, do so slowly while whisking continuously. This will help create a smooth rue without clumps. If you notice any lumps after adding the milk, consider using a hand mixer for a brief moment to bring everything back to a creamy state. Once thickened, adding the mustard powder and nutmeg enhances the depth of flavor, giving a subtle warmth to the final dish.
Choosing the Right Cheeses
A blend of cheeses elevates your mac and cheese, adding complexity and richness to the dish. The sharp cheddar brings a tangy kick, while mozzarella contributes to that gooey, stretchy texture we all love. Parmesan adds umami depth. For variations, consider swapping in Gruyère for a nutty flavor or pepper Jack for a spicy twist. Just remember to balance the flavors; too much of one cheese may overpower the others.
I often experiment with cheese combinations based on what I have on hand. If you're dairy-free, try using plant-based cheese alternatives that melt well; many brands have formulated products that mimic the stretchy, creamy quality of traditional cheeses. Just ensure you're using enough of your choice to create that luscious, creamy sauce that clings perfectly to every elbow macaroni.
Perfecting the Crunchy Topping
The topping is what elevates your Comfort Creamy Mac & Cheese from great to unforgettable. For the best crunch, use panko breadcrumbs instead of regular breadcrumbs. Panko will create a lighter, airier texture that crisps up beautifully in the oven. Mixing the breadcrumbs with melted butter ensures they coat evenly, delivering that decadent buttery flavor while toasting to a perfect golden brown.
Baking is essential to achieving the ideal texture contrast; 20 minutes at 350°F (175°C) should do the trick, but always keep an eye on the oven. If your topping isn’t browning as much as you’d like after 20 minutes, you can pop it under the broiler for an additional minute or two. Just monitor closely to prevent burning, as broilers can be unpredictable.
Ingredients
Ingredients
For the Mac & Cheese
- 8 ounces elbow macaroni
- 2 tablespoons butter
- 2 tablespoons all-purpose flour
- 2 cups whole milk
- 1 teaspoon mustard powder
- 1/4 teaspoon nutmeg
- 2 cups shredded sharp cheddar cheese
- 1 cup shredded mozzarella cheese
- 1/2 cup grated Parmesan cheese
- Salt and pepper to taste
For the Topping
- 1/2 cup breadcrumbs
- 2 tablespoons melted butter
- 1/4 cup grated Parmesan cheese
Instructions
Instructions
Cook the Pasta
In a large pot, bring salted water to a boil and cook the elbow macaroni according to package instructions until al dente. Drain and set aside.
Make the Cheese Sauce
In the same pot, melt the butter over medium heat. Whisk in the flour and cook for about 1-2 minutes until golden. Slowly add the milk, whisking constantly until the mixture thickens. Stir in the mustard powder, nutmeg, and season with salt and pepper.
Add the Cheeses
Remove the pot from heat and stir in the cheddar, mozzarella, and Parmesan until melted and creamy. Mix in the cooked pasta until well combined.
Prepare the Topping
In a small bowl, mix breadcrumbs with melted butter and Parmesan cheese until evenly coated.
Assemble and Bake
Preheat the oven to 350°F (175°C). Transfer the mac and cheese to a baking dish, sprinkle the breadcrumb mixture evenly on top, and bake for 20 minutes or until golden and bubbly.
Pro Tips
- Experiment with different types of cheese for unique flavor combinations, and consider adding sautéed veggies or cooked bacon for added richness and texture.
Storage and Reheating
Storing leftover mac and cheese is hassle-free. Simply transfer it to an airtight container, where it will keep in the fridge for up to three days. If you're planning to store it for longer, consider freezing it instead. Use a freezer-safe dish, and it should maintain quality for up to three months. Just be sure to cool the mac and cheese completely before freezing to prevent ice crystals from forming.
When reheating, it's best to thaw the dish overnight in the fridge before popping it in the oven for a thorough and even heat. To prevent the mac and cheese from drying out, I recommend adding a splash of milk or cream while reheating, which will help restore that creamy texture. Bake it covered at 350°F (175°C) until heated through, usually about 20-30 minutes.
Serving Suggestions
Comfort Creamy Mac & Cheese serves beautifully as a main dish, but it also pairs well with a fresh side salad or some steamed vegetables for a balanced meal. I love adding a lightly dressed arugula salad with lemon vinaigrette, which cuts through the richness of the dish and adds freshness.
For those looking to turn this classic into a more gourmet experience, consider adding cooked proteins like crispy bacon or crab meat for added depth and flavor. A sprinkle of fresh herbs, such as chives or parsley, not only garnishes the dish beautifully but enhances the earthy flavors as well, making it even more delightful.
Questions About Recipes
→ Can I make this recipe ahead of time?
Yes! You can prepare the mac and cheese up to the baking step and refrigerate it. Just add a few extra minutes to the baking time when you’re ready to serve.
→ What if I don’t have elbow macaroni?
You can substitute with any pasta shape you prefer, such as shells, penne, or fusilli.
→ Can I freeze mac and cheese?
Absolutely! To freeze, allow it to cool completely, then portion it into airtight containers. Reheat in the oven or microwave.
→ How can I make my mac and cheese spicier?
For a kick, add some diced jalapeños or a few dashes of hot sauce to the cheese sauce.
Comfort Creamy Mac & Cheese
Created by: The Chefbrunocooks Team
Recipe Type: Sunday Roasts Recipes
Skill Level: Easy
Final Quantity: 4 servings
What You'll Need
For the Mac & Cheese
- 8 ounces elbow macaroni
- 2 tablespoons butter
- 2 tablespoons all-purpose flour
- 2 cups whole milk
- 1 teaspoon mustard powder
- 1/4 teaspoon nutmeg
- 2 cups shredded sharp cheddar cheese
- 1 cup shredded mozzarella cheese
- 1/2 cup grated Parmesan cheese
- Salt and pepper to taste
For the Topping
- 1/2 cup breadcrumbs
- 2 tablespoons melted butter
- 1/4 cup grated Parmesan cheese
How-To Steps
In a large pot, bring salted water to a boil and cook the elbow macaroni according to package instructions until al dente. Drain and set aside.
In the same pot, melt the butter over medium heat. Whisk in the flour and cook for about 1-2 minutes until golden. Slowly add the milk, whisking constantly until the mixture thickens. Stir in the mustard powder, nutmeg, and season with salt and pepper.
Remove the pot from heat and stir in the cheddar, mozzarella, and Parmesan until melted and creamy. Mix in the cooked pasta until well combined.
In a small bowl, mix breadcrumbs with melted butter and Parmesan cheese until evenly coated.
Preheat the oven to 350°F (175°C). Transfer the mac and cheese to a baking dish, sprinkle the breadcrumb mixture evenly on top, and bake for 20 minutes or until golden and bubbly.
Extra Tips
- Experiment with different types of cheese for unique flavor combinations, and consider adding sautéed veggies or cooked bacon for added richness and texture.
Nutritional Breakdown (Per Serving)
- Calories: 450 kcal
- Total Fat: 24g
- Saturated Fat: 15g
- Cholesterol: 70mg
- Sodium: 640mg
- Total Carbohydrates: 41g
- Dietary Fiber: 2g
- Sugars: 3g
- Protein: 18g